What you can set
Everything is in the properties panel in Framer. No code.
Click, type, hover or wait
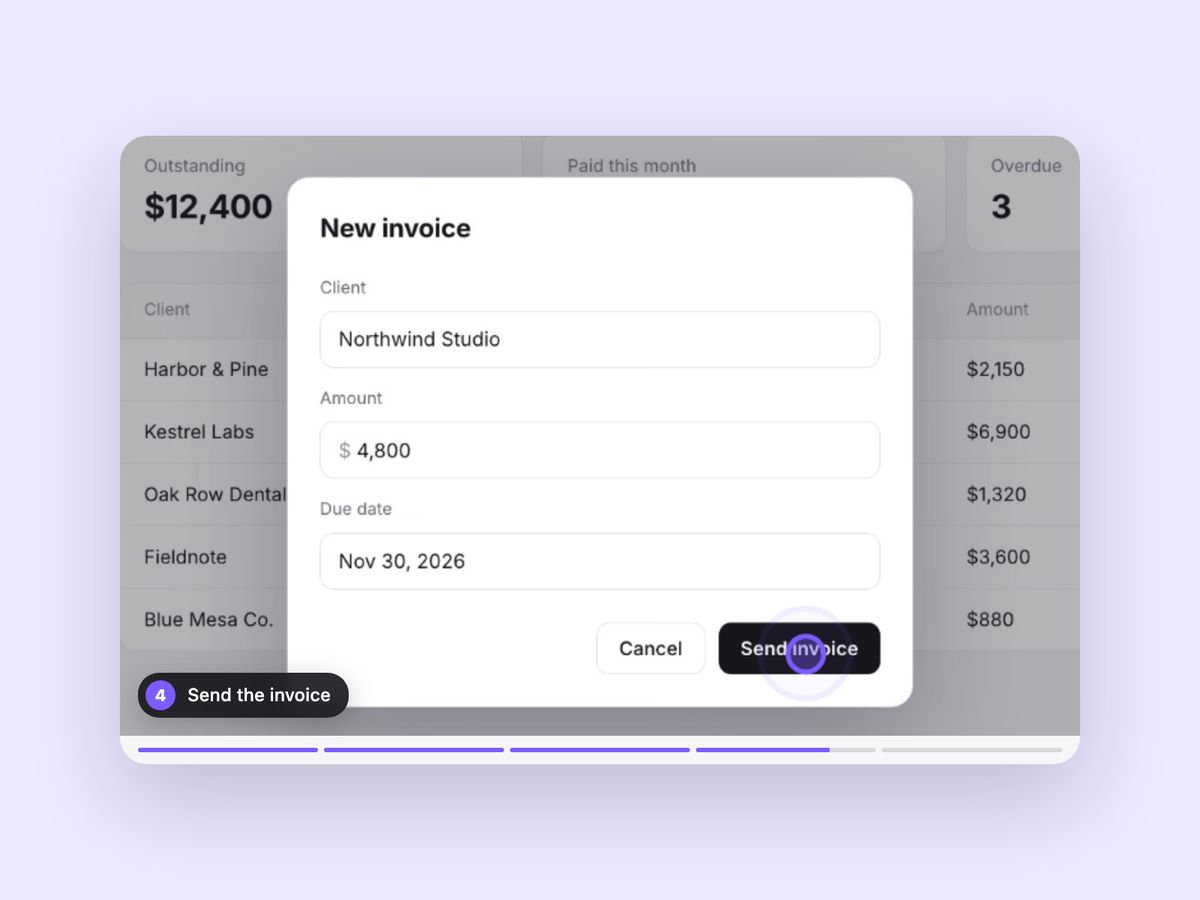
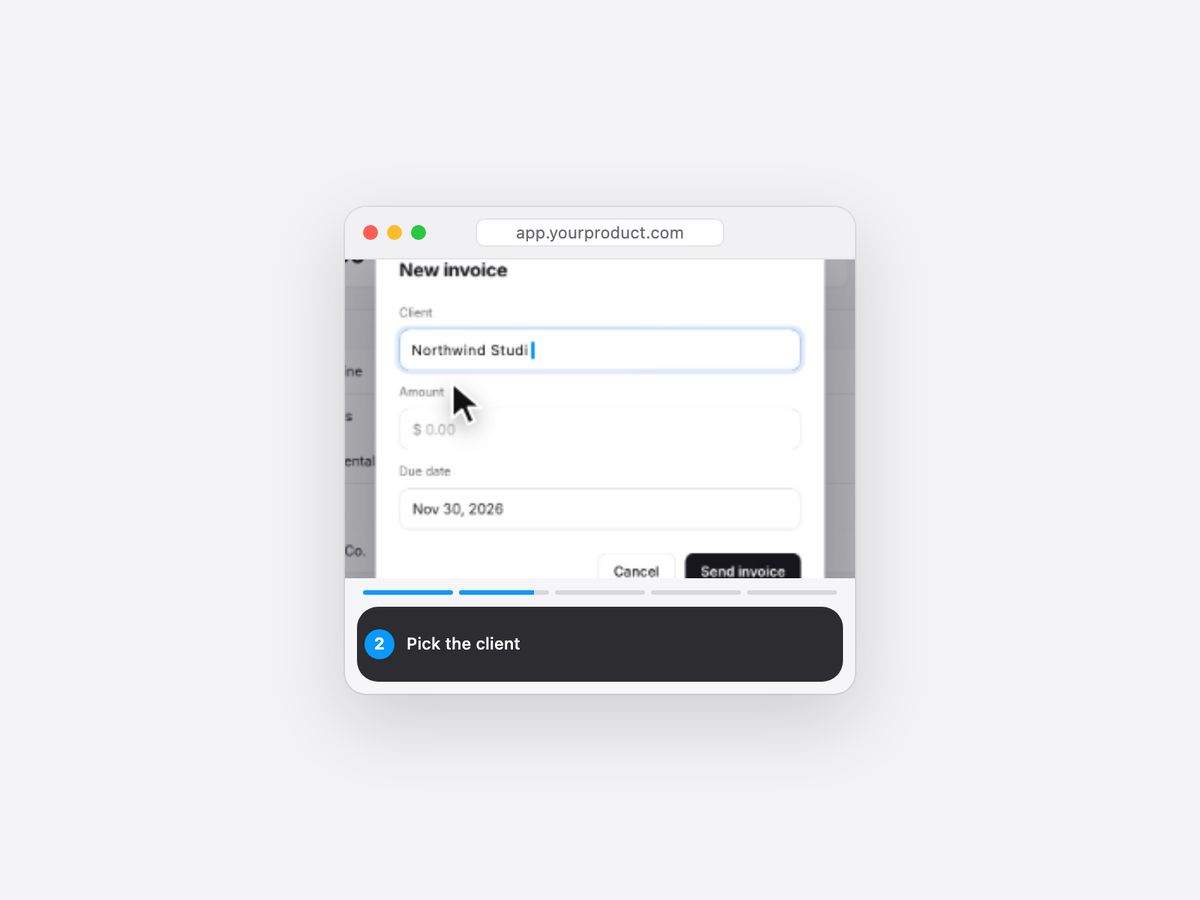
Each step has its own caption, and the view zooms in on the part that matters.
Frame and cursor
A browser frame, a card or no frame. A Mac, PC or dot cursor. Your accent color.
A button to sign up
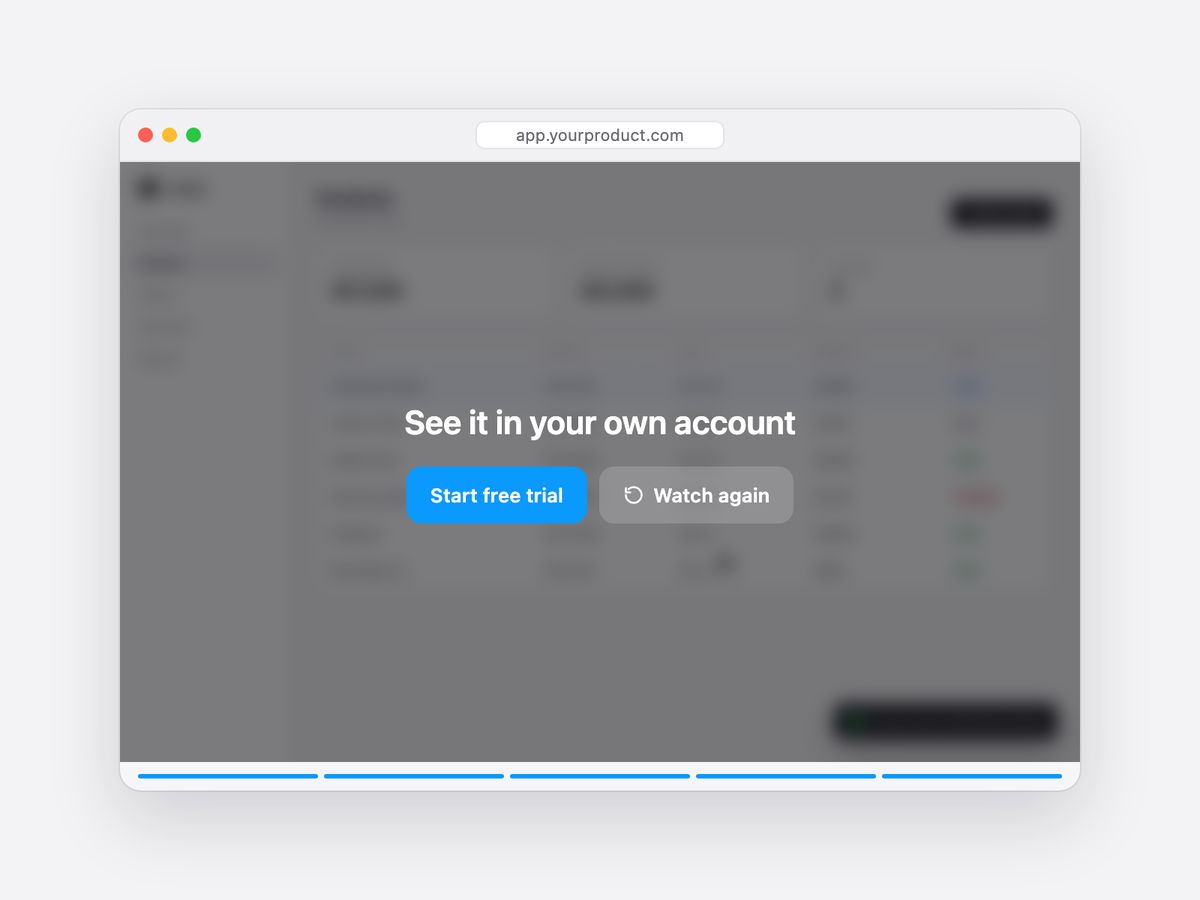
After the last step, show a heading, a button to your sign-up page and Watch again.
When it starts
When the demo scrolls into view, on hover or on click. Set the speed and the loop.
Readable on small screens
Phone zoom shows a closer view. Captions move under the screenshot.
Blur private details
Drag a box over names and emails. The setup page never uploads your screenshots.
See it on a site
Set it up in three steps
Full guide →Take your screenshots
One screenshot of each screen you want to show, all at the same window size.
Place the cursor
On the free setup page, click where the cursor goes, drag a box to zoom, and blur anything private.
Paste and publish
Paste the setup code into Framer, add your screenshots in any order, and publish.
Questions
Do I need to record a video?+
No. Autodemo plays your screenshots with a cursor that clicks and types.
Does the setup page upload my screenshots?+
No. The setup page runs in your browser and never uploads your screenshots.
Does it work on phones?+
Yes. Phone zoom shows a closer view, and the caption moves under the screenshot so it stays readable.
How do I get it after I pay?+
The checkout emails you the component link and the setup steps.
What if it does not work in my project?+
Email victorifeanyiro@gmail.com within 14 days and you get a refund.